
How to Use Command™ Hooks
Instructions on how to apply or remove Command™ adhesive hooks
Command™ Hooks are available in a wide range of designs to match your individual style and decor. They also come in a variety of sizes and weight limits.
How to Apply and Remove Command™ Hooks
A step-by-step walkthrough of the proper way to apply Command™ Hooks so they'll hold strong. For Command™ Clear Hook instructions, click here.

Easy to Apply
Key tips to know before applying Command™ Hooks:
- Wait 28 days after painting before use.
- Do not hang over beds or put on wallpaper.
- Do not hang valuable or irreplaceable items or framed pictures.
- Use Indoor Hooks between 10ºC - 40.5ºC.
- Apply Outdoor Hooks between -9.4ºC to 51.6ºC. Holds -28.8ºC to 51.6ºC.
-

Wipe wall with rubbing alcohol. Do not use household cleaners or water, as they can leave slippery residue.
-

Separate strips. Remove red liner. Press adhesive to hook.
-

Remove black liner. Press hook firmly to wall for 30 seconds. If you can see the tab of the strip, you are all done! Wait one hour before use. If not, complete steps four to six.
-

To reinforce strip, temporarily remove hook from wall. Slide hook up and off base.
-

Press base firmly for 30 seconds.
-

Slide hook back on. Wait one hour for adhesive to build.

-
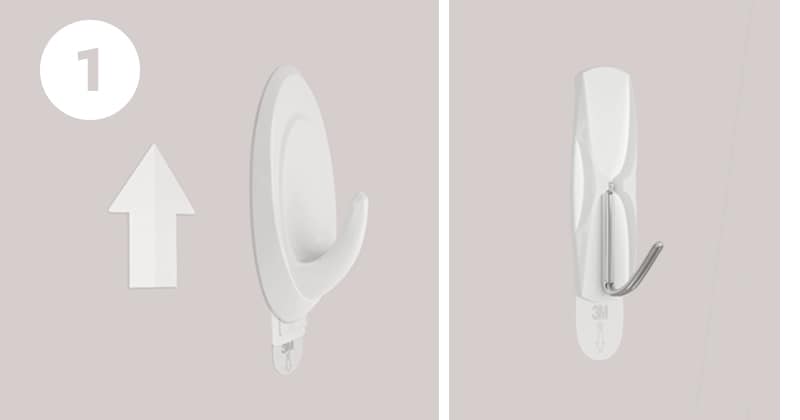
For two-piece hooks: Slide hook up and off.
For one-piece hooks: go to step two. -

Gently hold hook or mounting base in place.
-
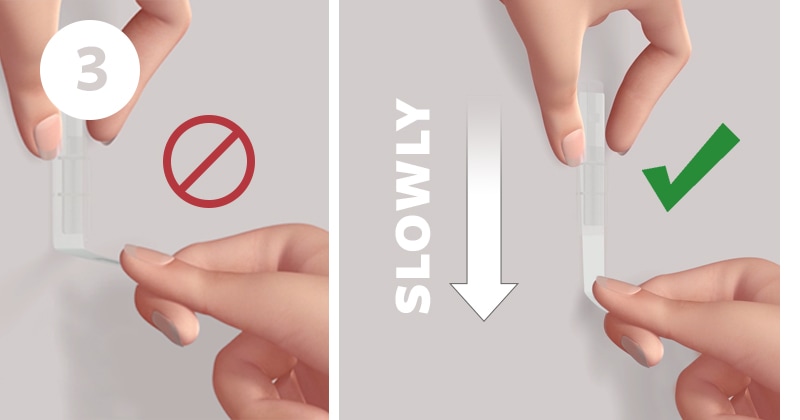
Never pull away from wall. Stretch the strip slowly against the wall (at least 38 cm) to release.
Which surfaces do Command™ Hooks stick to?
-
Command™ Hooks hold strongly to a variety of surfaces: painted, stained or varnished wood, glass, tile, metal, painted drywall and other smooth surfaces.

-
Do not use Command™ Products on textured walls or surfaces, wallpaper, brick, rough or non-stick surfaces, or fabrics.


How to Use Command™ Strips and Hooks
Command™ adhesive holds strongly to a variety of surfaces including wood, tile and glass as well as solid, hollow and painted walls. View our step-by-step instructions for other Command™ products.